Premier Dental’s new self-adhesive resin cement ZR-Cem™ is specially formulated for zirconia to improve the definitive cementation procedure
By: Jason H. Goodchild, DMD
Self-adhesive resin cements (SARC) are intended to provide the “Goldilocks” option for cementation selection, meaning they can offer the “just right” cement category for modern crown and bridge substrates. The ease of use of SARC is similar to glass ionomer-based cements but provides higher bond strengths, improved esthetics, and dual curing. Also, because SARC is resin-based it can be used for cementation of ceramic materials (eg, zirconia, lithium silicates) whereas glass ionomer-based cements are usually not recommended. Compared to adhesive resin cements SARC does not require an additional bonding step, however both require isolation for effective use.
Despite the advantages of SARC, a possible clinical challenge involves the cleanup step where all excess cement must be removed to prevent post-operative problems. Many dentists tack cure resin cements to initiate a gel phase during which the material can be easily removed with an explorer or hand instrument. However, some existing products have a very small window for tack curing, allowing the dentist approximately 1 to 2 seconds of light curing before the material is too hard to be removed with a hand instrument. In this case the hardened material must be removed with a bur which can be very difficult and messy, especially in the posterior interproximal areas.
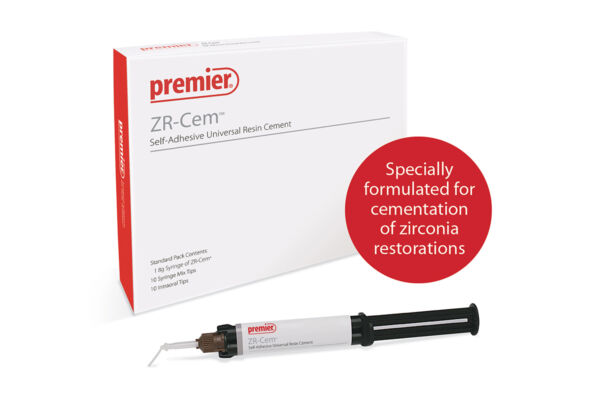
Recently, Premier Dental Products Company introduced ZR-Cem™ Self-Adhesive Universal Resin Cement. (Figure 1) To help dentists prevent over curing during the critical clean-up phase, this new self-adhesive resin cement offers a tack-cure window of up to 3-seconds on both the buccal and lingual surfaces, or for dentists who do not choose to tack cure, ZR-Cem™ will reach a gel phase in 1-1:30 minutes. In either case, during the gel phase ZR-Cem™ is easily peeled away from the margin ensuring complete removal of excess cement. This avoids the need for a bur to remove excess cement which may traumatize surrounding gingiva and damage the new restoration.
ZR-Cem™ has several other features that make it a unique SARC. First, the adhesive monomer 10-MDP is included to facilitate a strong bond to all crown and bridge materials, especially zirconia. It also features a novel catalyzing system that is benzoyl peroxide and amine-free which helps ensure excellent color stability and eliminates the need for refrigerated storage.
ZR-Cem™ is supplied in 8 gram dual-barrel automix syringes and is available in translucent, A2, and White shades.
Clinical Case Procedure
- Figure 13
- Figure 14
Figure Legends
Figure 1: ZR-Cem™ Self-Adhesive Universal Resin Cement (Premier Dental)
Figure 2: Final preparation of tooth No. 30 after removal of older porcelain fused to metal crown.
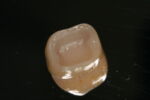
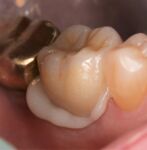
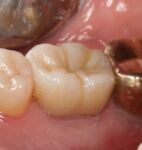
Figure 3: Final full-contour zirconia restoration for tooth No. 30.
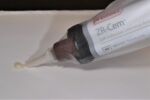
Figure 4: Before installing the mixing tip, a small amount of material is expressed onto a pad to ensure even delivery of base and catalyst.
Figure 5: After screwing on a mixing tip, a Sleeve-It™ Disposable Barrier Sleeve is placed over the ZR-Cem™ 5mL syringe. Sleeve-It™ barriers come in two sizes (Series 100 that fits 0.7-3.0mL syringes and Series 200 intended to fit 5mL syringes) to prevent cross contamination for dental dispensers that cannot be sterilized between individual patients.
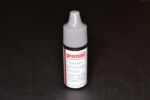
Figure 6: Premier Universal Primer. This primer contains both 10-MDP and silane and is designed to improve bond strength between crown substrate and resin cement. It is appropriate for zirconia, glass ceramics, metal, and composite materials.
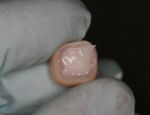
Figure 7: After the Universal Primer has been air dried for 20 seconds, note the slightly glossy internal surface of the crown.
Figure 8: Before dispensing the cement into the crown, a small amount of ZR-Cem™ is bled thru the mixing tip to ensure adequate mixing of the base:catalyst.
Figure 9: Crown No. 30 is filled with the cement.
Figure 10: Zirconia crown No. 30 is seated on the clean and slightly moist preparation, excess cement is expressed. Note: no additional bonding steps of the tooth are required prior to using ZR-Cem™.
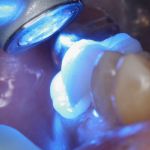
Figure 11: Tack curing of the ZR-Cem™ was accomplished by 3-seconds of light curing to both the buccal and lingual surfaces.
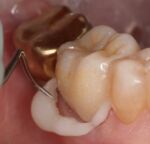
Figure 12: After tack curing, ZR-Cem™ in the gel phase peels away easily from the margins of the restorations helping to ensure no excess cement is left behind.
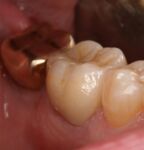
Figure 13: Buccal view of the final restoration on tooth No. 30 immediately after definitive cementation with ZR-Cem™ Self-Adhesive Universal Resin Cement.
Figure 14: Lingual view of the final restoration on tooth No. 30 immediately after definitive cementation.


